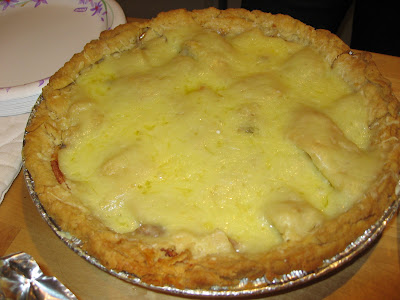
Be Fearless, Make Crust
 Folks are scared of pie crust. I bring a pie someplace and invariably hear: "oh, you made the crust from scratch? That's so hard." Well, no. Calculus is so hard. Making pie crust just takes a little gumption. You can mess it up badly and it will still taste good (as long as you use real butter). This picture of Nadia Comaneci at the 1976 Olympics captures the spirit of crust-making. Dive right in.
Fearless Pie Crust
1 cup (2 sticks) of butter plus a couple tablespoons
2 1/2 cups of all-purpose flour
Pinch of salt
3 to 4 tablespoons of ice cold water
- Everything should be cold. I keep the butter and flour in the freezer awhile before. I also pour my water over ice and refrigerate crust when not rolling.
- You need a rolling pin, flat surface, plenty of flour, waxed paper, plastic wrap, a mixing bowl, and a pastry cutter (see my secret weapon post). Also, fearlessness and patience.
- Don't overmix. When in doubt: more butter, less water.
Mix the flour and salt, dice the butter, and add. This is where your pastry cutter com
 es in. Cut the butter into small pieces. Think soft and crumbly. Some of the pieces will be "pea-sized" and some, smaller. I often ditch the pastry cutter toward the end and use my hands.
Now add the water. Stay gentle! This is key. Despite appearances, you'll be able to form a ball with your hands. Divide in two, patting to keep it together, then cover each half with plastic wrap. Once your crust balls are in plastic, take advantage of the extra protection and flatten them slightly into discs. This holds the dough better for rolling. Put them in the fridge for twenty minutes or more.
Rolling is probably the hardest part. A wonderful cook I used to work for said the more it makes you want to swear, the better the pie dough. Roll on top of wax paper dusted generously with flour. Use
 hands as needed.
Once you've got it larger than a standard 9-inch pie plate, fold it in half. Yep - fold! The wax paper helps. When you peel it back, you'll probably have to use a butter knife to loosen the bottom half of the crust. Then just lift, drop into the plate, and unfold. This part always involves some good suspense and cursing - and patching, if it tears.

Pour in the filling, then roll out your top half. Cut into strips for lattice, if you want. When all is done, pinch the edges up and voila, it will look great. Trust me.


Comments